Halloween is a very special holiday in our household. Every year, by October 1st, the house is adorned with pumpkins and mums, skulls and spiders. Our costumes are planned well in advance, and if I may humble-brag here, we are kinda known for regularly winning costume contests – no big deal. This was all before the birth of our son, of course. Now the excitement of Halloween has taken on a new meaning and my next mission in life is to pass on the joy and wackiness of the season. What better way to get started than pumpkin carving with a toddler? Nothing could go wrong, right?

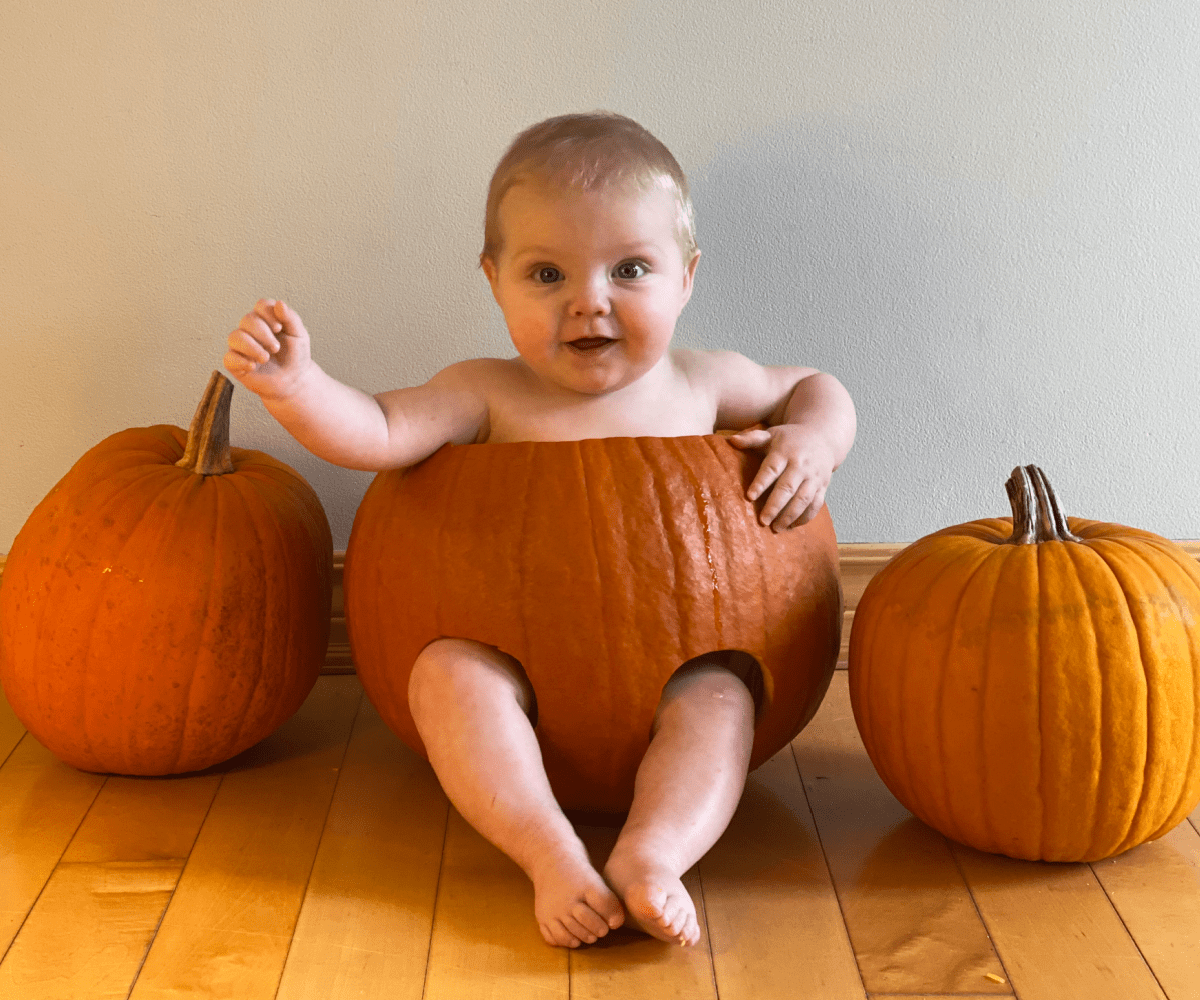
Now that he is old enough to actively participate in new experiences, this feels like the perfect year for his first introduction to pumpkin carving – excluding that time we put him INSIDE the pumpkin and took photos when he was a baby – Awww cute!
Picking a pumpkin
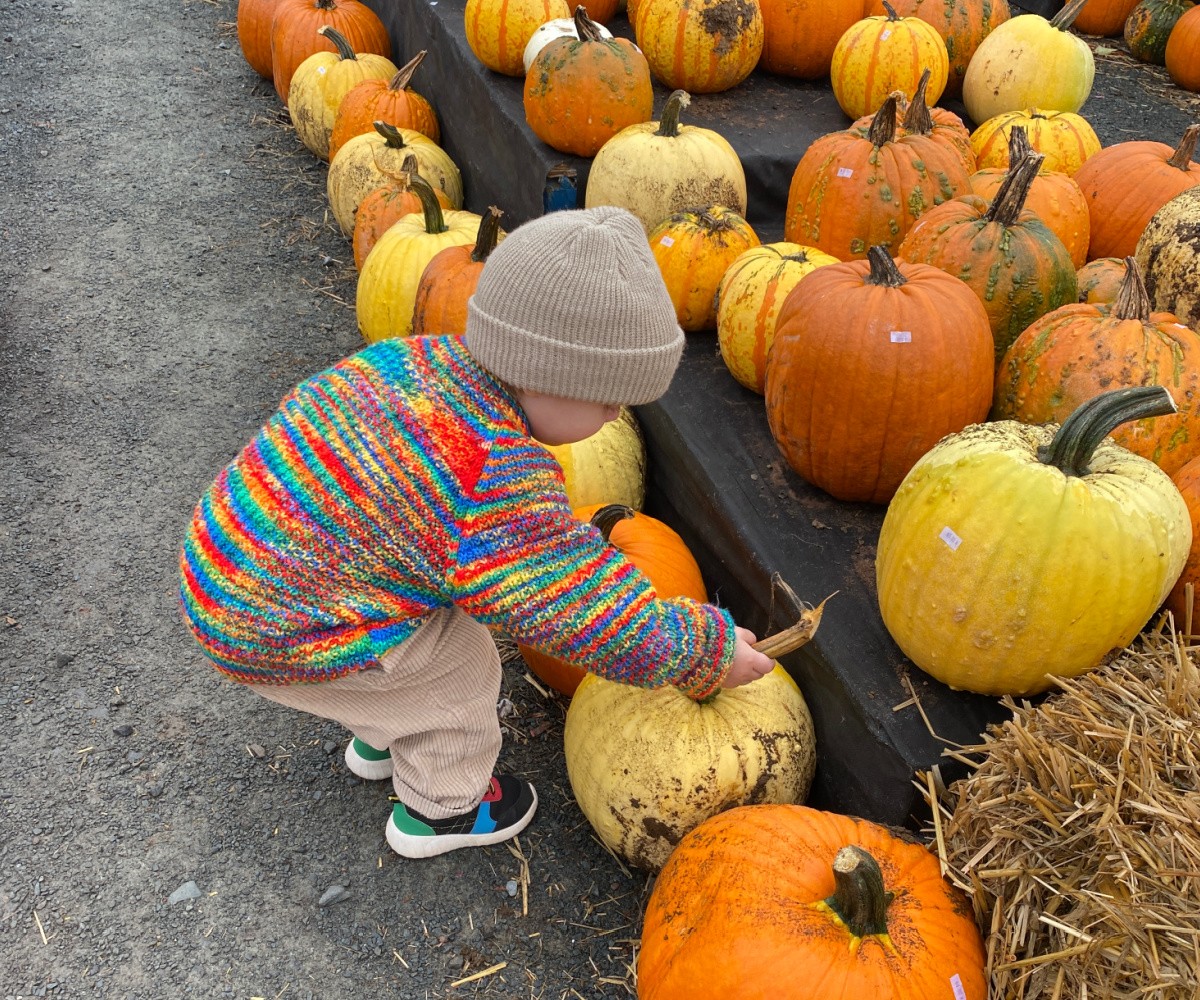
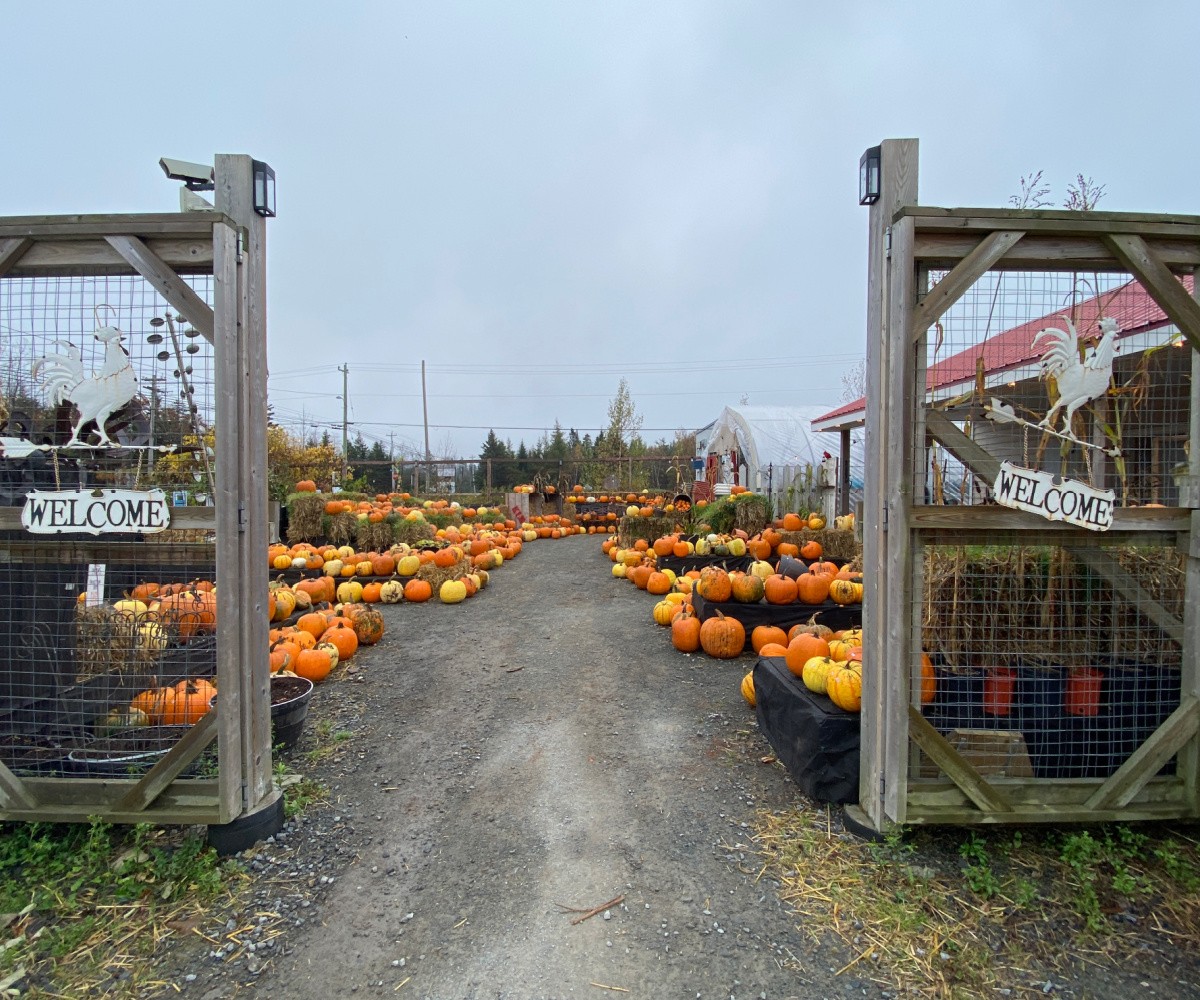
We decided to begin our journey at Withrows Farm Markets. A charming little market that is open year-round and offers the best in local produce and seasonal goods. During the autumn months, Withrows has a section full of hay bales, long corn stalks and pumpkins galore. It is such a treat for little ones to explore the area and pick out their favourite pumpkins.
Start small
As you can imagine, a toddler’s attention span can be fairly short, so smaller pumpkins will get you to destination jack-o-lantern much faster than larger ones. We made sure to grab a few small pumpkins before heading back home.
Choosing a design
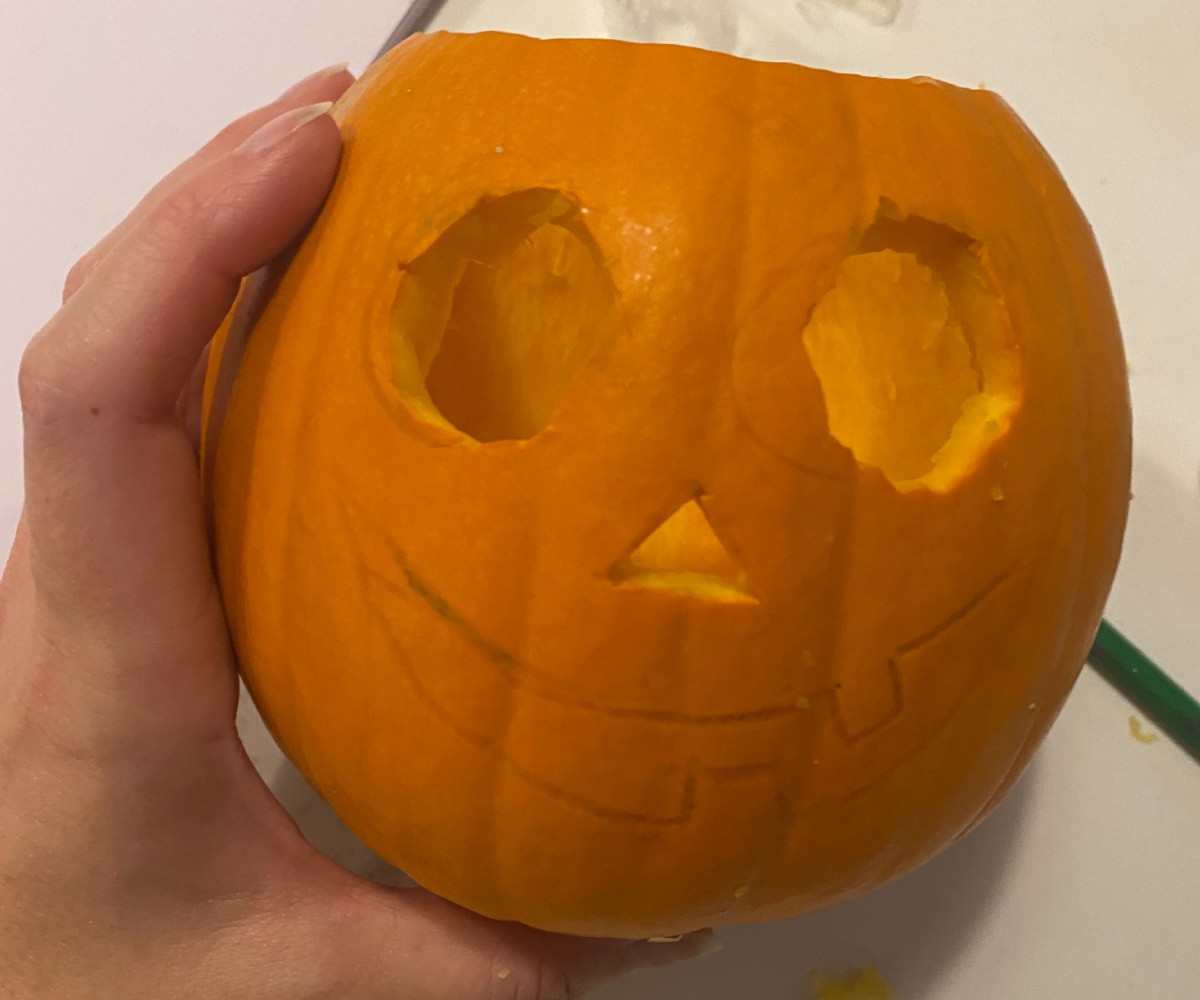
One of the limitations with a smaller pumpkin is the inability to have any great detail in your design. Being our first time pumpkin carving together, our intention was to keep things simple and moving along at a steady pace, so small was welcomed. When it came to deciding on a design for our pumpkin, we scribbled a few shapes down on a sheet of paper, closed our eyes, pointed our fingers and chose whatever shapes we landed on. Our pumpkin would have circles for eyes, a triangle nose and an almost toothless grin.
 Pumpkin carving tips
Recently, I heard about a new approach to cutting pumpkin lids. Apparently if you cut the lid from the bottom instead of the top, your pumpkin will last longer and will be easier to light the candle you place within. I did not do this. My pumpkin is RIP.
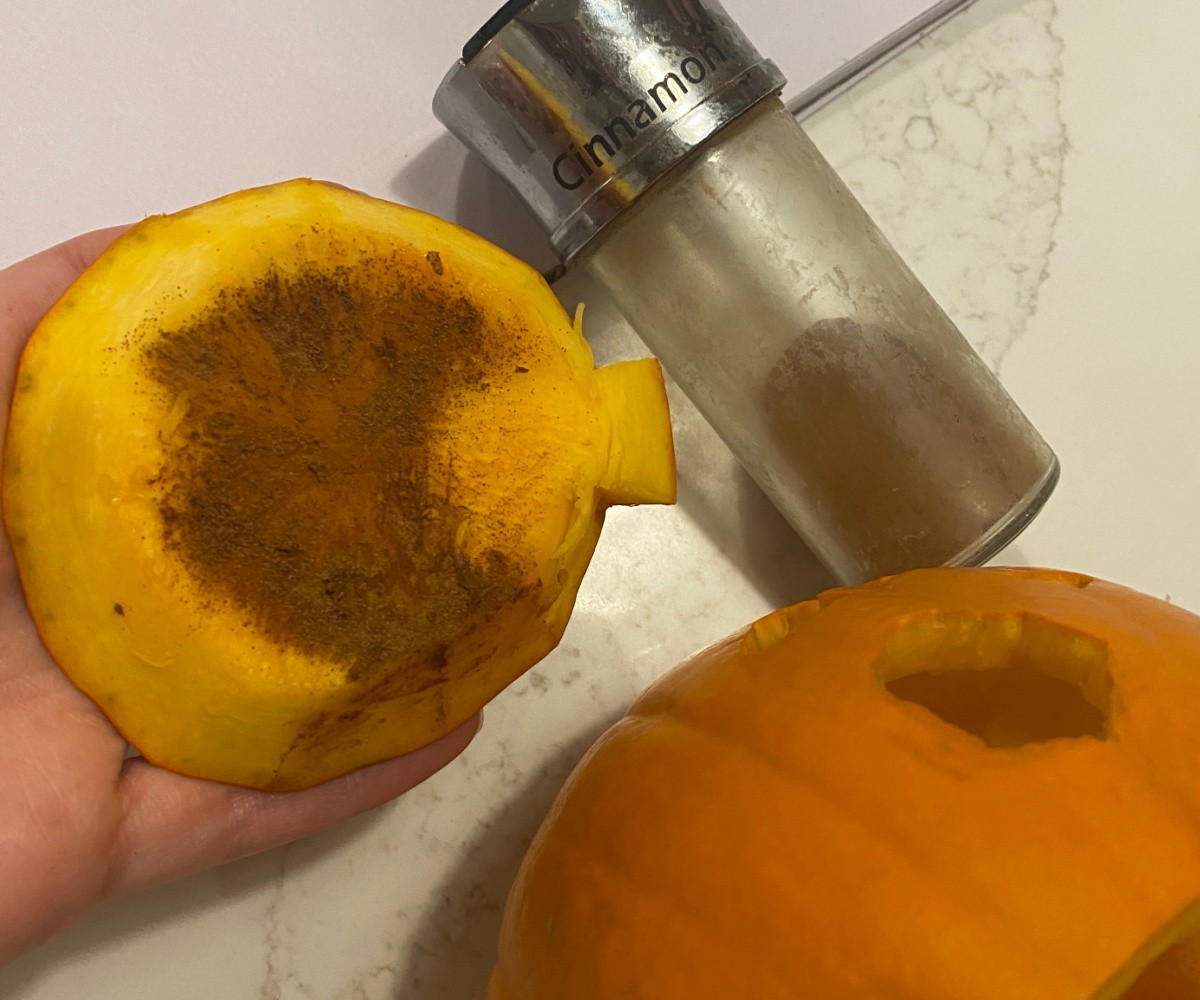
A family friend who also loves pumpkin carving joined in our small pumpkin fun. He passed on his family tradition of sprinkling a bit of cinnamon under the pumpkins lid (top lidders only). This gives off a pumpkin spice aroma that builds as the candle burns. Brilliant!
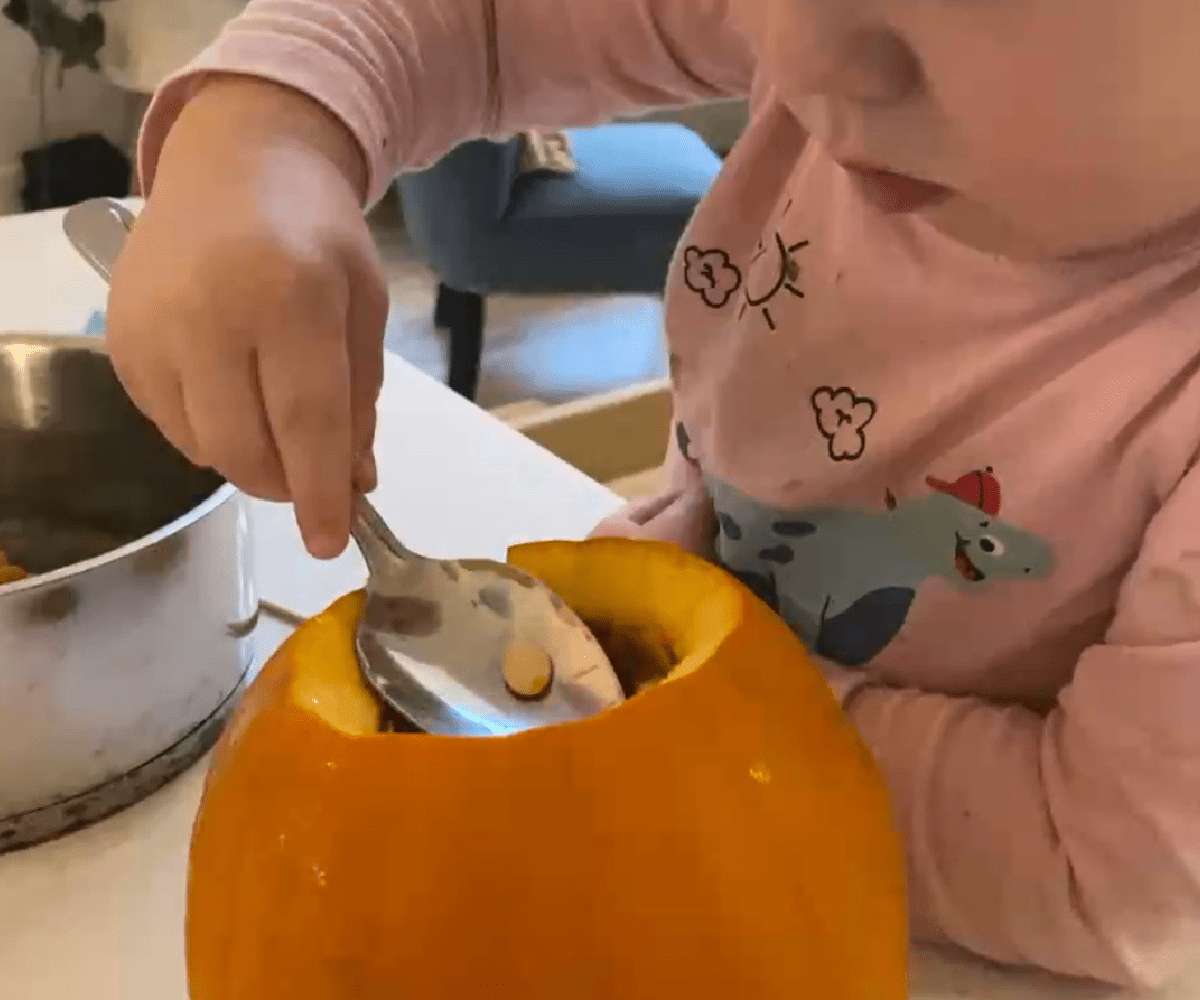
I NOW know that my son is a single-seed-scooper. He is not a get my hands in there and squish around kind of guy. Instead, he focuses on lifting out each seed one-by-one, inspecting it and touching it his tongue before depositing it in a bowl. Therefore, I had to use my powers of distraction to get my hands on the pumpkin so I could scoop ferociously and keep things moving along.
There are Montessori kitchen knifes for kids that claim not to cut skin. We do not own one of those yet, so I did all of the knife handling, of course. After a little elbow grease, we made it to jack-o-lantern town! Our new friend was greeted with a hug and perched on the kitchen counter to watch us finish our Halloween decorating.
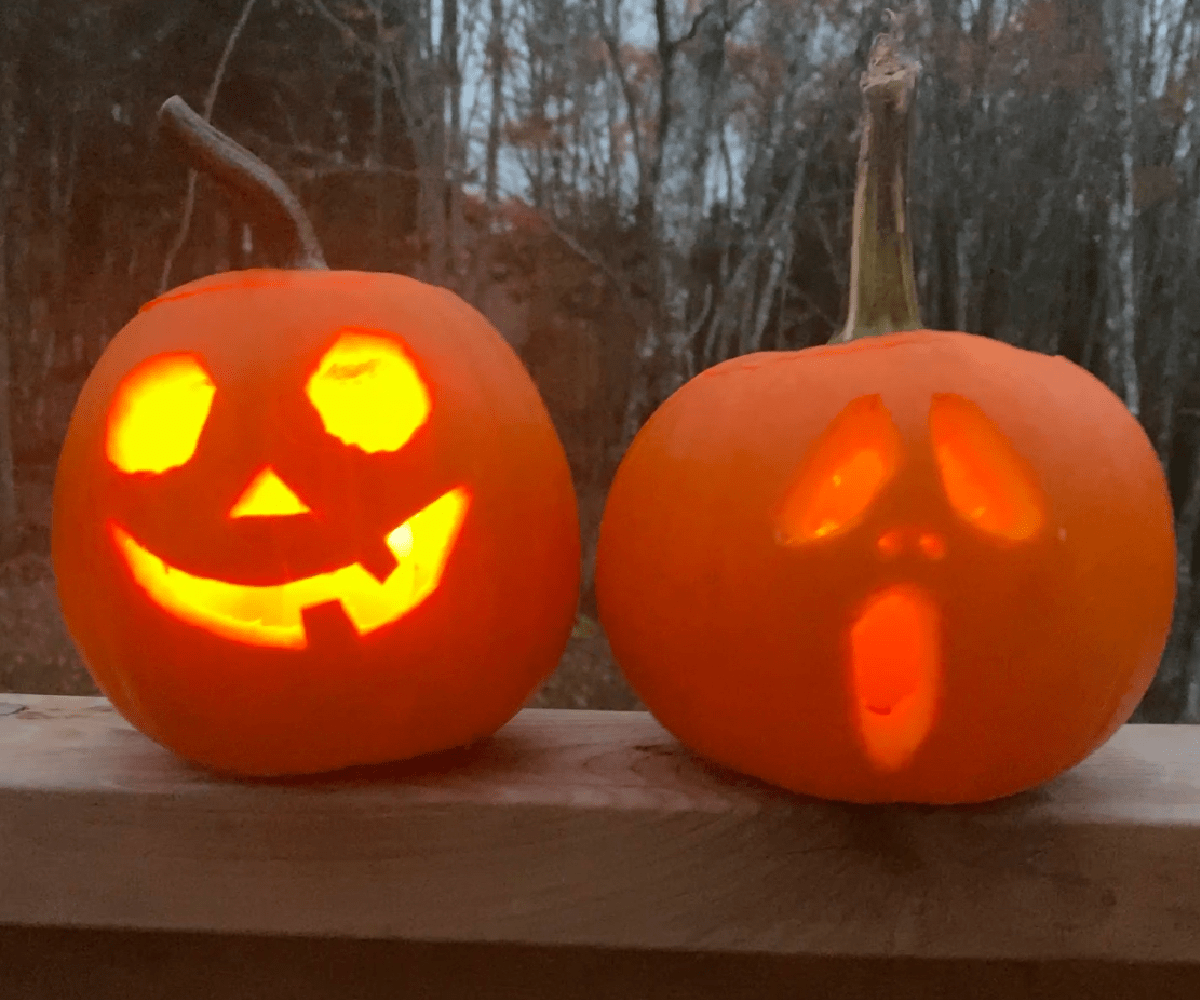
As mentioned earlier, our little pumpkin friend did not stay with us long. Before two days had passed, he collapsed. However, his memory and hopefully the memories made during Baby’s first pumpkin carving experience will live forever.
RIP Pumpkin.


